|
|
|
Main News Forums Games Games Database Top 100 Release List Support Files Features Reviews Previews Interviews Editorials Diaries Misc Download Gallery Music Screenshots Videos Miscellaneous Staff Members Privacy Statement |
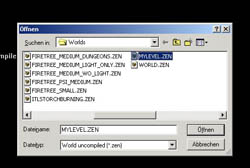
6. Insert ObjectsNow you need the SPACER to integrate your new level mesh into the ZEN file you made in the first step of this tutorial. a) Select the option Open ZEN in the File menu. Set the file type to 'World uncompiled(*.zen)' so the mesh data from the corrsponding 3DS will be loaded instead of those from the existing ZEN file.
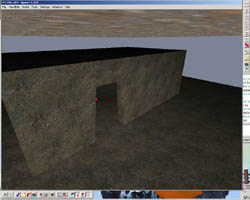
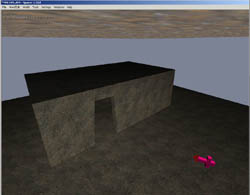
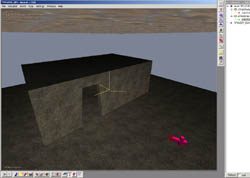
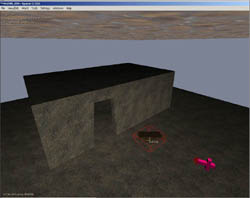
b) After loading the Uncompiled ZEN the dialogue for 'Compiled World' will appear automatically. Deactivate the option 'Editor Mode' and select 'Compile'. c) This is what the level will look like with the new mesh. The poly portals are not displayed, which is good since it means that you did everything by the book :).
d) You don't want a boooooring level, right? Good, then insert an object... a bench to go along with your pretty little homestead.
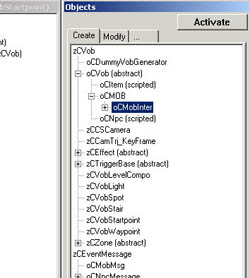
e) Place the bench by going to the Objects window and opening the list 'oCVob (abstract)'. Go from oCMOB down to oCMobInter - that's what you need now. Select the entry by doing a left click.
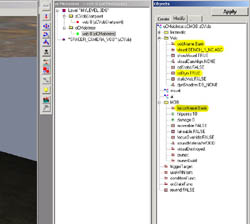
Do a right mouse click (in the 3D view window) and select 'Insert (oCMobInter)' to create a coordinate axis with a note 'oCMobInter'.
Now you need to fill in a few fields in the Objects window. Look at this:
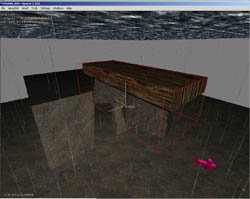
Select the Visual property and hit the File button at the botton of the Objects box.Browse to the file for the bench's appearance. In this case we want the file BENCH_1_NC.MDS from the folder GOTHIC\_WORK\DATA\ANIMS\MDS_MOBSI\. There are other objects in the folder as well. Mesh-ASCIIs, Mobsi-MDS and 3DS files can be selected as Visuals. Click 'Apply'. After a short while you should see something like this in the 3d view window:
Now get the bench to the correct spot. Select it and use the 'M' key to push it towards your house (and the ground)... and you're done!
Now you just extended your level by a portal room and an object. Time to go and have another close look at your level! Just see to it that it's not as dark as it was before... Select 'Compile Light' from the World menu and activate Vertexlighting only. That's a quick way to get some lighting (don't forget that you didn't set light sources so far) and doesn't look all that bad. After that save your level as a Compiled ZEN (ascii). Just don't forget to copy the new 3DS from the GOTHIC\_WORK\DATA\MESHES\ folder into your LEVEL folder!
|
|||||||||||||
|
All original content of this site is copyrighted by RPGWatch. Copying or reproducing of any part of this site is strictly prohibited. Taking anything from this site without authorisation will be considered stealing and we'll be forced to visit you and jump on your legs until you give it back. |
||


