|
|
|
Main News Forums Games Games Database Top 100 Release List Support Files Features Reviews Previews Interviews Editorials Diaries Misc Download Gallery Music Screenshots Videos Miscellaneous Staff Members Privacy Statement |
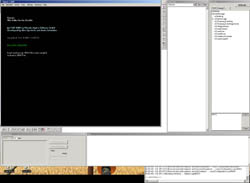
3. Creation of a ZEN fileYou need the Gothic level editor SPACER To transform the 3DS file into a ZEN file. ZEN files contain info about the objects in the world, as well as the terrain, buildings and major foliage described in the .3DS file. Open zSpy (found in the Gothic\System folder) so you'll get debugging information if you run into an error while editing the level. Then start SPACER via the Gothic Starter.
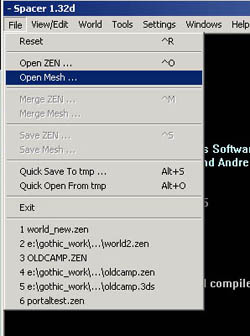
a) Load your 3DS file via File/Open Mesh
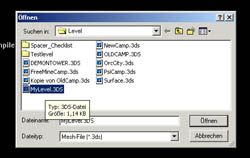
and select MyLevel.3ds from GOTHIC\_WORK\DATA\MESHES\LEVEL\
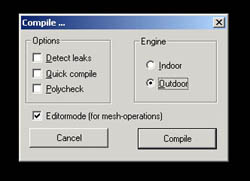
b) After loading, the mesh has to be compiled for it to show. Select 'Compile World' from the World menu. In the dialogue, set Engine to 'outdoor', Editor Mode to 'active' and press the 'Compile' button.
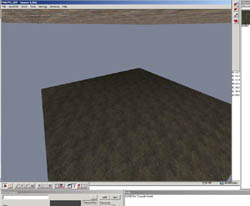
Depending on level size and and computing power this can take quite a while. You will now have a 3D view of your level. You can move the camera with the arrow keys.
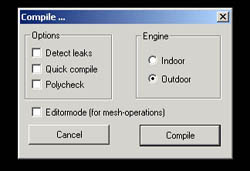
c) Save the level mesh in 3DS format as you did before; special material info for the engine (sound, opacity etc.) is included now. In this example we haven't created any special definitions. Select Save Mesh from the File menu and overwrite your old MyLevel3ds. Again, depending on mesh size and complexity, this can take a while. (Bloody ages in fact, if it's a large map.) d) Now 'reboot' SPACER via File/Reset. After that, select 'Open Mesh' from the File menu and load your new MyLevel.3DS. Compile the mesh, BUT be sure to deactivate Editor Mode this time, to create a ZEN instead of a 3DS file.
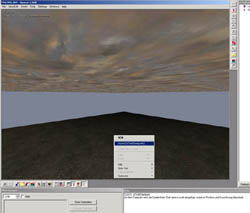
The 3D view shouldn't have changed. You won't see anything but the textured plane. e) Now we have to set a starting point for the player - zCVobStartpoint.
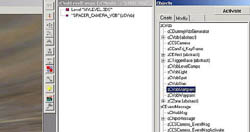
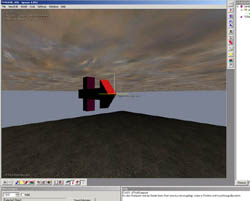
Go to the 'Objects' window and select the entry 'zCVobStartpoint' from the list. Right click on the 3D view and select 'Insert (zCVobStartpoint') from the context menu.
You just set a level starting point!
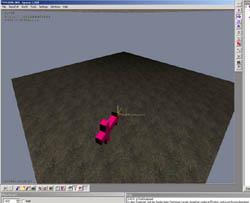
Move the starting point until it looks like the picture below. Do this by selecting the zCVobStartpoint object (in the 3D view) and then 'Move selected vob' from the right tool bar (alternatively, hit the 'M' key). Now you can shift the selected object by using the arrow, 'A' and 'Y' keys, and rotate it with the 'six keys block' (insert, del, home, end etc.). The Y and Z are exchanged on German keyboards, hence the odd choice.
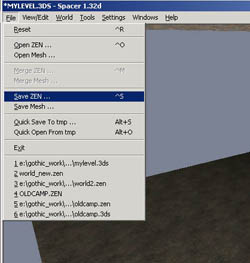
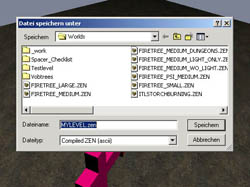
f) Now you can test your level if you want to. Select 'Save ZEN' from the File menu.
Save the level in GOTHIC\_WORK\DATA\WORLDS\ as MyLevel.zen. File format is Compiled ZEN (ascii).
You just created your first ZEN! Now you ought to take a look around it. There's not much to see yet, but we'll come to that later. For now, you can close SPACER. IMPORTANT:After compiling, SPACER creates another 3DS which is automatically saved in the GOTHIC\_WORK\DATA\MESHES\ folder. You have to move this (manually) to the LEVEL folder; the old file will be overwritten. |
|||||||||||||||||
|
All original content of this site is copyrighted by RPGWatch. Copying or reproducing of any part of this site is strictly prohibited. Taking anything from this site without authorisation will be considered stealing and we'll be forced to visit you and jump on your legs until you give it back. |
||


